7 Top Tips for Reinstating & Restoring Your Victorian Fireplace
We all love an open fire, and it can be a joy to discover an old Victorian fireplace hidden behind a board when you move into a new old house.
Or perhaps it was one of the features that made you fall in love with your home when you first saw it.
Either way, reinstating a Victorian fireplace can feel like a large undertaking.
Is it safe? Will the room fill with smoke? Are you even allowed to burn wood or coal in your area?
In this article, we’ll explore 7 top tips for reinstating and restoring your Victorian fireplace, ensuring it’s safe for years of cosy use to come.
Ready? Let’s dive in!
What is an open fireplace?

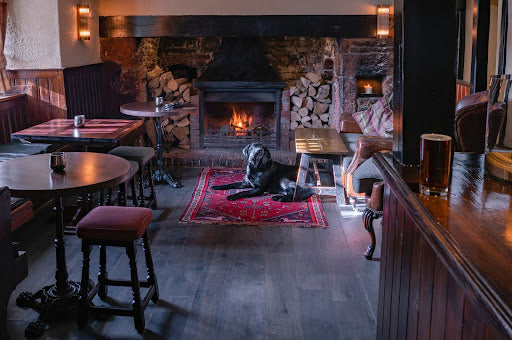
An open fireplace permits the safe burning of wood or other combustible materials in an open fire, which radiates heat into the room.
It typically consists of:
- A firebox surrounded by a brick, stone, or metal structure
- A chimney or flue that draws smoke and combustion byproducts outside.
Open fireplaces provide a cosy, rustic atmosphere. As well as heating, they can be used for cooking, but they’re also inefficient and can be a source of indoor air pollution.
And while Victorian fireplaces are an attractive addition, they've been largely replaced by more modern heating systems such as gas, electric, or bioethanol fireplaces - more about these later.
Tip #1: Reinstating a Victorian fireplace
The fireplace in your Victorian home may have been replaced over the years — let’s face it: the seventies was a fairly dire era for chucking out the old. So, you might be considering ripping out a non-period fireplace and replacing it.
But don't make the mistake of buying the first fireplace in your price bracket. Do some research first to ensure you're reinstating your Victorian fireplace in sympathy with the building, not replacing one anomaly with another.
Find out more about the era of your home:
- Georgian: 1714-1837
- Victorian: 1837-1901
- Edwardian: 1901-1910
Each had fireplace designs unique to the era.
Victorian fireplaces

Victorian fireplaces are defined by early, mid, and late-period Victorian.
Early and mid-Victorian fireplaces are ornate, with intricate designs depicting floral patterns, often moulded into the cast iron surround or painted onto tiles.
Late Victorian fireplaces are defined by more geometrically-inspired designs with a cleaner, simpler aesthetic.
Select your fireplace
So, reinstate a fireplace that suits the era of the house.
Tip #2: Identifying what you’re working with
Skip this tip if you’re restoring an existing fireplace.
Once you've chosen a Victorian fireplace that fits the era of your home, it's time to rip out the old fire. This will create a lot of mess, but it's worth it in the end.
It’s a good idea to remove the plaster around your old fireplace to see if there’s evidence of old fireplace fixings that have been bricked in. You could reuse these if they fit with your new fireplace.
This will also reveal the size of the void behind the old fireplace. Make sure that the firebox is going to fit! If you can see the outline of the original fireplace, it helps you buy a suitable replacement.
As a rule of thumb, look at the size of the chimney breast — deeper breasts will have larger spaces for fireboxes than narrow ones.
Tip #3: Clean the fireplace

If you’re restoring a fireplace, you’ll need to:
- Clean up the surface rust
- Strip layers of paint
- Weld over any cracks
- Repaint/polish
Cleaning a Victorian fireplace
Cast iron fireplaces have a principal enemy: rust. Luckily, cast iron is robust, so you’ll be able to sand off the rust without damaging the aesthetic.
Use protective gloves and a mask, as this is about to get messy. Also, cover your furniture because you don’t want rust dust on your sofa!
Start by cleaning the surface with white vinegar or a rust-removing product — rubbing at the rust to loosen it.
This could be all you need to do, but you'll probably need some steel wool or sandpaper to buff the rust away, using circular motions. You might need a wire brush for the intricate nooks and crannies.
Avoid over-sanding — you don’t want to ruin the fireplace’s surface.
After sanding, clean the surface with a damp cloth to remove the vinegar or rust remover. Dry the surface thoroughly (or the rust will rapidly return!).
Now, add a rust-protective layer, such as rust-proof metal paint and primer or a black grate polish.
Tip #4: Strip the paint

People do odd things in the pursuit of fashion, don't they?
So, if your beautiful old cast iron fireplace has previously been painted, you'll need to use a paint stripper (yuck) to remove the paint.
Paint stripping is quite a task — very time-consuming and intricate. So, hiring a restoration expert might be a good idea if you're removing paint. They can sandblast the paint off, but — of course — that comes with a fairly hefty price tag.
Follow these steps:
- Prepare the space with protective sheets and wear protective gear.
- Apply the paint stripper directly to the paint, following the safety instructions. Make sure the stripper is appropriate for cast iron.
- Wait until the paint has blisters, then scrape it away. You'll probably have to do this several times until all the colour has gone.
- Use steel wool or sandpaper for corners and details.
- Wipe the chemicals away with a moist cloth, drying immediately afterwards.
- Repaint or polish.
Tip #5: Fixing cracks in the metal
You may discover cracks on the surface of the cast iron — you’ll need a professional welder to repair these blemishes because it’s a tricky task for a DIYer.
Cast iron can crack even further if suddenly exposed to high temperatures and needs to cool down gradually, so it’s best to hire a skilled craftsperson to avoid further damage.
Tip #6: Repainting a restored Victorian fireplace

You might not want to paint your fireplace, but make sure you seal the surface with polish to avoid future rust outbreaks.
If you're repainting, prime the surface first using an oil-based primer, which will seal the cast iron. Then, use an oil-based cast iron paint to block out moisture.
Alternatively, you could use oil-based spray paint to make this process easier, more uniform, and streakless.
Tip #7: Get the chimney swept
It's essential to have the chimney swept before you light your restored fireplace; otherwise, your chimney could easily catch fire. The chimney needs a strong draw to drag the smoke out of the fire and outside — a smokey room is hazardous.
Alternatively, you might decide that you want a more eco-friendly way to reinstate your fireplace, so you could consider a bioethanol fire basket, like the Arkle, which doesn’t need a chimney at all.
If you're changing your fireplace, think about bioethanol

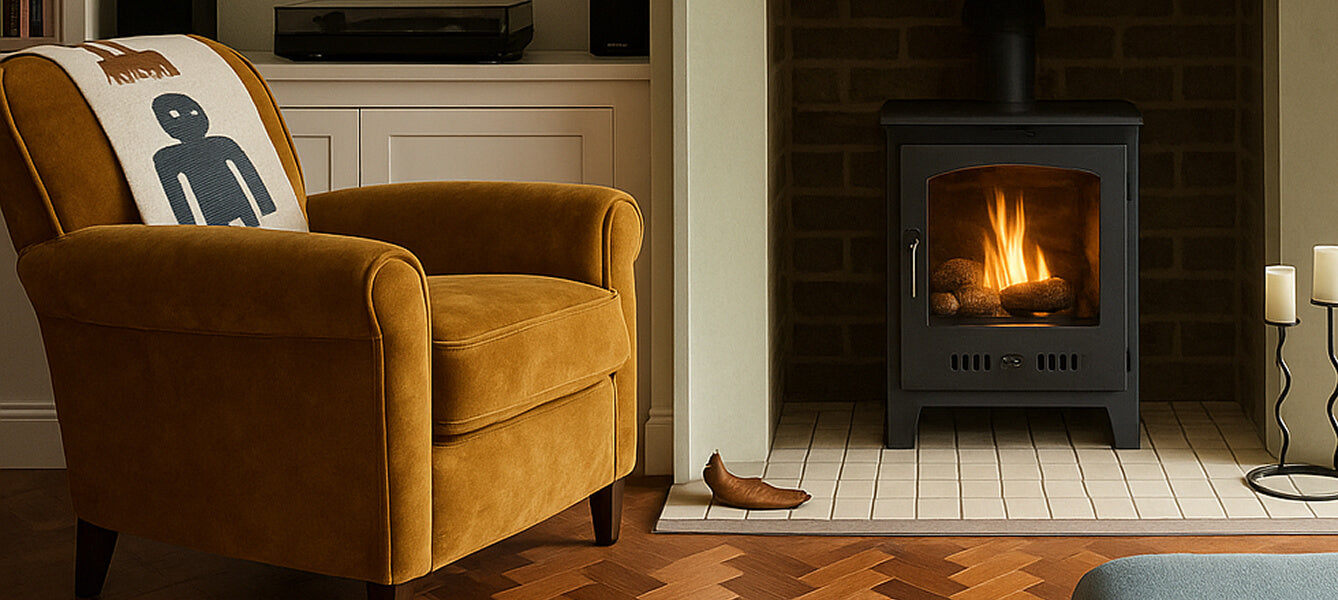
Your existing fireplace might not suit the era of your home, or perhaps you’d like a wood burner instead of an open fire. Either way, have you considered bioethanol?
Bioethanol offers a real flame, like a wood or coal fire, with no mess, pollution, or soot. And even better, you rarely need to clean a bioethanol fireplace because it doesn't emit smoke or ash and offers a cosy warmth more suited to smaller living rooms.
Bioethanol fireplaces are perfect for homes with faulty or leaky chimneys — in fact, you don’t need a chimney or flue with bioethanol because it produces none of the toxic gases that fossil fuel combustion creates.
So, if you're looking for a greener way to warm your reception rooms, consider bioethanol — the carbon-neutral real fire that rarely needs cleaning or maintenance.

Find out more about bioethanol
Check out our range of beautiful bioethanol fireplaces, from wood burner style and free-standing fireplaces to traditional-looking fire baskets suitable for an existing open fireplace.
Get in touch, and we’ll take you through the benefits of bioethanol for warming your home.
